The fastest way to get dog hair out of a car is to loosen it with friction first, then vacuum. Run a damp rubber glove, rubber pet-hair brush, or squeegee across the fabric to lift embedded hair out of the weave, then follow with a strong vacuum and a brush attachment. Vacuuming first — which is what almost everyone does — barely touches hair that's wedged into automotive fabric. This guide covers why hair sticks the way it does, how to handle seats and carpet differently, what wastes your afternoon, and the honest signals it's past the point of DIY. We're a two-person mobile car detailing Vancouver team that deals with this on almost every interior job, in every kind of weather this region hands us.
Quick Summary: Pet Hair Removal in a Vancouver Car
- ·Order matters more than tools. Friction, then suction. Reversed, you'll spend an afternoon and still see hair on the drive home.
- ·Damp beats dry. A lightly misted surface clumps loose hair instead of scattering it into the air and onto the next seat.
- ·Seats and carpet aren't the same job. Carpet takes aggressive raking; upholstery seams need a crevice tool and patience.
- ·Vancouver's rain makes it worse. A damp dog presses hair deeper into fibre under body weight, and it dries in place.
- ·Some of it isn't coming out without extraction. Hair that's been worked in over years is a professional job — realistically $80–200 as a detailing add-on.
Why dog hair is so hard to get out of a car
Automotive fabric is woven tight
Car upholstery and carpet are dense by design, for durability. Short, bristly hairs wedge down between the fibres like tiny needles rather than sitting on top the way they do on a couch or a sweater. Household upholstery is loose enough that a lint roller can grab hair; automotive fabric closes over it.
Friction and static do the embedding
Loose undercoat hair sits in a dog's coat until something rubs it free — which is exactly what happens every time the dog shifts on the seat. The same friction that pulls hair off the dog drives it into the weave, and static holds it there. This is why the removal method has to be friction and static too, not just suction. A vacuum passing over the top of the fabric never breaks that grip.
Time and heat make it permanent
Hair that's been in a car for a season gets pressed deeper every time someone sits down, and sun-baked interiors set it further into the fibre. Six-month-old hair and six-year-old hair are genuinely different jobs, and honest detailers won't pretend otherwise. The longer it's been in there, the more of it is structural.
The Vancouver problem — wet dogs and damp interiors
National how-to articles talk about pet hair like it behaves the same in Phoenix and the Lower Mainland. It doesn't. Our climate changes how hair loads into a car, and it changes how easy it is to get back out.
Rainy season means wet dogs. From October through March, a dog coming back from a walk is damp more often than not. Wet hair is heavier, lies flatter against the fabric, and presses into the weave under body weight instead of sitting on top of it. It dries in place, embedded, and no amount of vacuuming after the fact will lift it out cleanly. Frequency matters here — a car that ferries a wet dog twice a week through a Vancouver winter builds up faster than most owners realize.
Trail dogs are the worst case. Buntzen Lake and Sasamat in Port Moody, Pacific Spirit on the west side, Burnaby Mountain in Burnaby, and the Coquitlam Crunch and Minnekhada in Coquitlam — a wet dog plus trail dirt means hair bonds into carpet alongside mud, and the two have to come out together. Vacuuming a muddy pet carpet just packs the hair further in.
Interiors don't fully dry here. In a wet Lower Mainland winter, carpet underneath floor mats stays damp for weeks. Damp fibre grips hair harder, and it's also how the smell starts — the hair and the moisture together, not either one alone. This is the mechanism behind almost every "my car smells like dog even when the dog isn't in it" complaint we see.
The practical implication: in Vancouver, the window where dog hair is easy to remove is much shorter than in a dry climate. Frequent light cleaning beats one big annual effort by a wide margin. Doing a fifteen-minute friction pass every couple of weeks is orders of magnitude easier than trying to reset a car after a whole rainy season.
The method that actually works
Six steps, in this order. The order is the point. Do them out of sequence and you'll fight the car the whole way.
- 01
Clear the car out
Remove floor mats, car seats, and anything loose. Shake mats out well away from the vehicle. Hair moves around during the process, so do this first or you'll end up doing it twice.
- 02
Lightly mist the fabric
A spray bottle of plain water, misted — not soaked. Damp hair clumps together and stays put instead of drifting into the air and resettling. Over-wetting is a real mistake here; in Vancouver's climate a soaked interior takes days to dry out and invites odour.
- 03
Work friction across the surface
Damp rubber glove, rubber pet-hair brush, or squeegee. Pull in one consistent direction across the fabric. The goal is lifting hair out of the weave and pushing it into piles, not scrubbing. This step is what separates a twenty-minute job from a wasted afternoon.
- 04
Vacuum with a brush attachment, in multiple directions
Slow, overlapping passes. The brush agitates while the suction pulls. Multiple directions matters — hair lies with the weave, and one-direction vacuuming misses most of it. Change angle every pass or two.
- 05
Work the seams and crevices separately
Crevice tool along every seat seam, the gap between seat and backrest, under the seat rails, seatbelt anchor points, and the trunk lip. This is where the hair you'll find in three weeks is currently hiding.
- 06
Repeat the friction-and-vacuum cycle
Rarely one and done. Two or three full cycles on a moderately furry car is normal, and each cycle pulls up hair the previous pass didn't reach.
For carpet specifically, a rubber pet-hair stone or a stiff brush raked firmly across the fibre lifts what the glove misses. Use light pressure so you don't snag the loops — the goal is dragging hair to the surface, not scrubbing the carpet.
Seats vs carpet vs trunk
Cloth seats
The most receptive surface to the glove-and-vacuum method. Damp glove or rubber brush across the seat cushion and backrest, then vacuum. The real work is the seams — where the bolsters meet the base, where the base meets the backrest, and every stitch line has hair in it. Slow crevice-tool work along every seam pulls out what the surface pass leaves behind. If you skip seams, you'll see the hair reappear on top of the seat within a week as vibration works it back up.
Leather seats
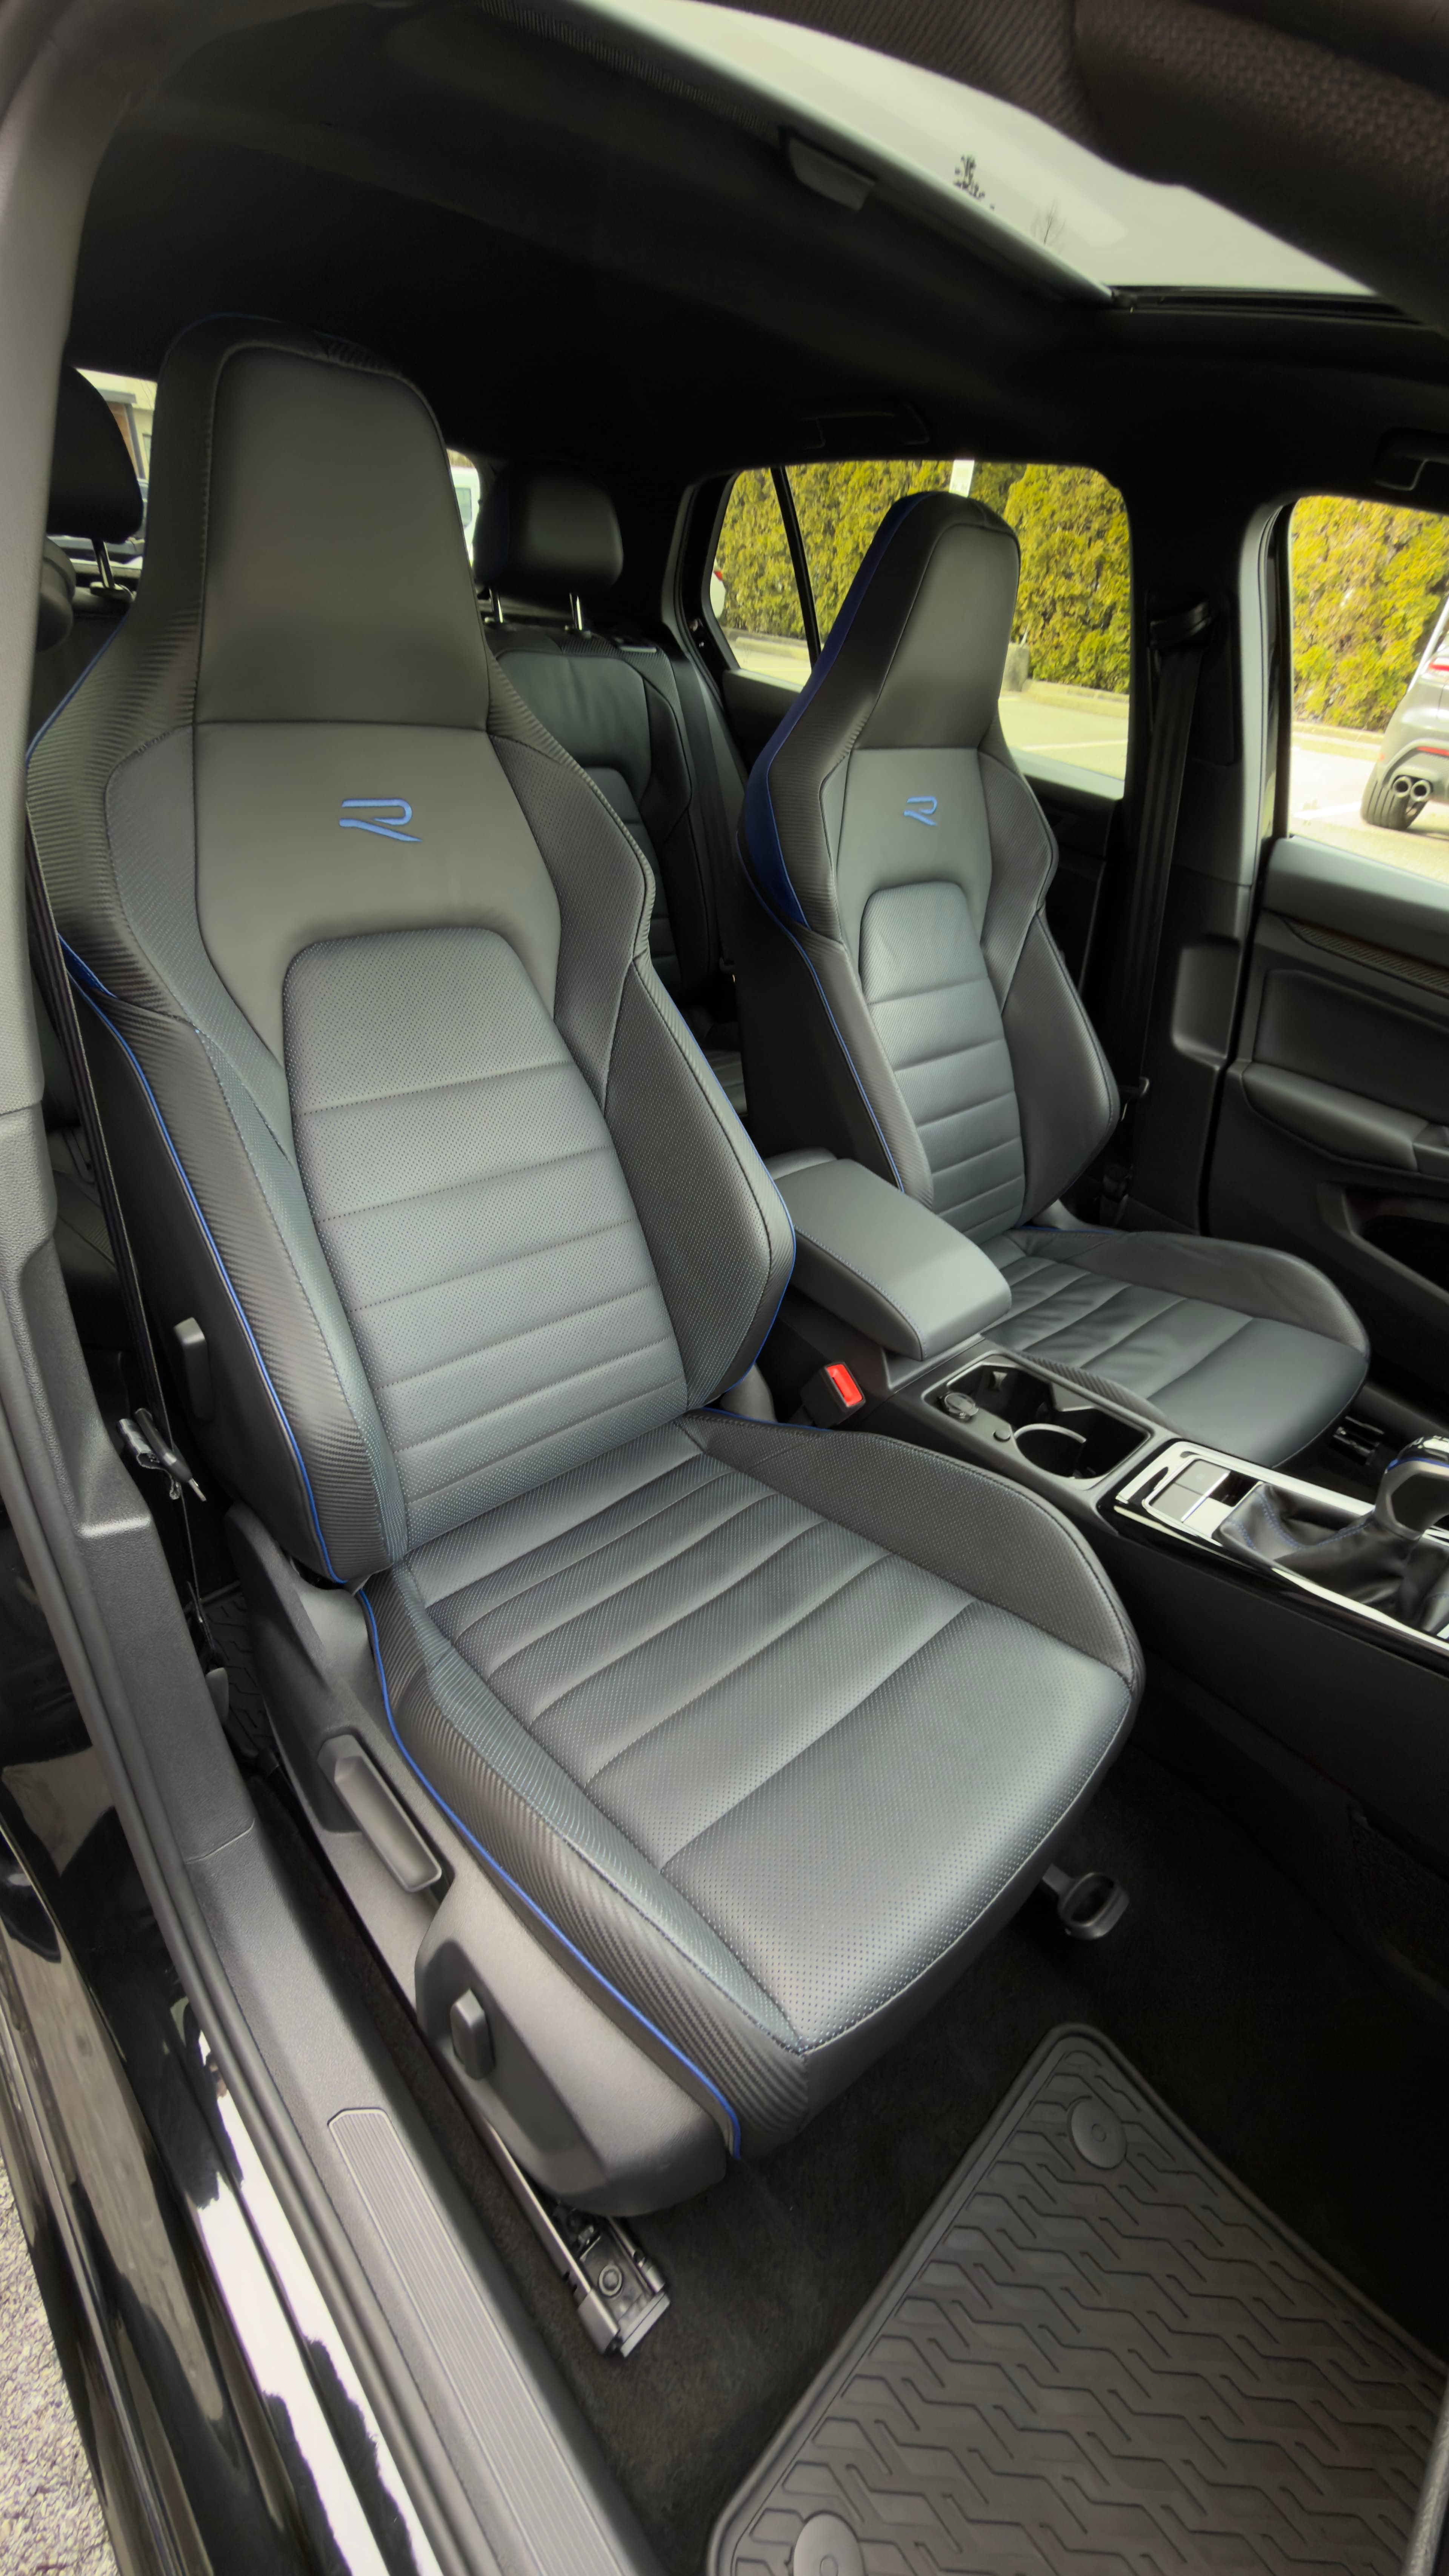
Easier. Hair sits on the surface of leather seats rather than embedding into it, so a damp microfibre is usually enough for the panels. Avoid stiff brushes and rubber stones — both can mark leather, especially perforated leather where the stone bites into the holes. Perforations are also the one place hair does hide on a leather seat, and the crevice tool with a soft brush attachment handles them without abrading the material.
Carpet and floor mats
The hardest surface in the car. Needs aggressive raking with a pet-hair stone, a stiff brush, or a rubber curry, followed by heavy vacuum passes in overlapping directions. Mats should be pulled and worked outside the vehicle — they're usually thicker than the carpet underneath, and doing them in the car spreads hair everywhere and hides half the surface area. If you want to genuinely remove dog hair from car carpet rather than just thin it out, plan on multiple passes with rest breaks in between; the hair keeps surfacing.
Trunk
Worth its own paragraph because almost everyone forgets it. Trunk carpet in most modern vehicles is lower quality and looser weave than the cabin carpet, which means it traps hair worse and also releases it worse. If the dog rides in the trunk of an SUV or hatch, that's where the highest hair concentration lives, and it's the area vacuums have the most trouble with. Pull the cargo cover and any trunk floor panels, and work each section separately.
What doesn't work (and wastes your afternoon)
A quick tour of the tricks that dominate blog posts and product listings. Most of them are fine for surface hair and useless for the embedded stuff — which is the problem you actually have.
- closeBalloons and static tricks. Fine for a light dusting on a hard surface. Useless on hair that's embedded in an automotive seat.
- closeDryer sheets. They add fragrance and pick up loose surface hair. They do nothing to hair worked into the weave, and they can leave a fabric-softener residue on interior trim.
- closeVelcro curlers. Slow, tiny working area, and they load up almost immediately. A weekend project pretending to be a technique.
- closeLint rollers. Genuinely useful for fresh hair on a smooth surface. Not a removal method for a car that's built up — you'll blow through a roll and see minimal difference in the interior.
- closeVacuuming first, before friction. The single most common mistake. Suction alone can't overcome the friction and static holding hair in the weave. It looks like it's working because you can see loose hair going into the tube; the hair you care about is still stuck.
- closeFabric-softener sprays. Leave residue that attracts more dirt, and the residue is often harder to remove than the hair was.
None of these are scams — some are fine for maintenance between real cleans, and a lint roller has a legitimate place after you've finished the friction-and-vacuum work. They're just not removal methods, and pretending they are is how a Saturday disappears.
What we see in the field: the pet hair jobs that take us the longest aren't the ones with the most hair — they're the ones where someone spent a weekend on it first with the wrong technique and pressed everything deeper into the weave. If you're going to do it yourself, do the friction step properly before you ever turn a vacuum on. And if the car has had a dog in it for more than two or three years, be realistic: some of that hair is now structural, and it comes out with extraction, not effort.
When it's beyond DIY
Most interiors can be genuinely improved with the method above. Some can't — and it's useful to know the difference before you spend a weekend confirming it. The honest signals it's a professional interior detailing job:
- ·Multiple years of accumulation with the same dog in the same vehicle.
- ·Hair visibly woven into carpet loops rather than sitting on top of them.
- ·Odour along with the hair — that's usually fibre-level, not surface, and needs extraction.
- ·Someone in the household has a pet allergy and the car needs to be genuinely dander-neutral, not just visually clean.
- ·You're preparing to sell the vehicle — embedded hair visibly drops what buyers offer.
- ·You've already tried the friction-and-vacuum cycle twice with no meaningful change.
What a professional actually does differently isn't more effort — it's different equipment. Hot water extraction flushes hair and dander out of the fibre rather than pulling at the surface. Compressed air drives hair out of seams and vent slots that no home vacuum reaches. Full seat-rail and under-seat access with dedicated tools gets the volume most owners never touch. It's the tooling difference that makes the result different, not the number of hours.
Pricing, plainly. Pet hair removal typically runs $80–200 as a detailing add-on in Metro Vancouver — see our full pricing for how the add-on sits alongside the interior packages. It's a range because animal, fabric type, and accumulation vary enormously; a Golden Retriever's six-month load in a cloth-seat Subaru isn't the same job as a Husky's three-year load in a leather-heavy SUV. Anyone giving you a firm number sight-unseen is guessing. If you want the full context on what a detail costs and what the add-ons look like, we broke down what detailing costs in Vancouver in a separate guide, and what a full detail includes in another. On time: pet hair alone usually adds an hour or two, but if it's bundled with a full interior we account for it inside the detail — see how long a detail takes for the honest timing.
Keeping it from building up again
Prevention is the highest-leverage part of this whole conversation. A short list:
- ·Brush the dog before trips, not after. Most shed hair is loose in the coat already — you want it in the yard, not in the car.
- ·A seat cover or cargo liner is the single highest-leverage change you can make. Nothing else comes close.
- ·Laser-fit rubber floor liners over carpet mats — especially October through March, when the wet-dog problem peaks.
- ·A quick friction pass every two weeks beats one big effort per year, and it takes fifteen minutes with a rubber brush.
- ·Dry the dog before it gets in, even roughly. This matters more in Vancouver than almost anywhere.
- ·Keep a rubber brush in the door pocket. If it isn't within reach, it won't happen.
If you're running a car that carries a dog year-round, a recurring maintenance detail is almost always cheaper over twelve months than one heroic reset. Our recurring Silver plan keeps hair from ever reaching the embedded stage — the numbers are on the pricing page.
FAQ
What's the fastest way to get dog hair out of a car?
Friction first, then suction. Run a damp rubber glove or rubber pet-hair brush across the fabric to lift hair out of the weave, then vacuum with a brush attachment in multiple directions. Doing it in that order is the difference between twenty minutes and a whole afternoon.
Does vacuuming alone remove dog hair?
Not effectively. Hair embedded in automotive fabric is held by friction and static, and suction alone can't overcome that. A vacuum picks up what's loose on the surface and leaves what's wedged in the weave.
Should I wet the seats before removing dog hair?
Lightly mist them, don't soak them. Damp hair clumps together rather than scattering. Over-wetting an interior is a real problem in Vancouver's climate — it takes days to dry and can cause odour.
How much does professional pet hair removal cost in Vancouver?
Typically $80–200 as an add-on to a detail, depending on the animal, the fabric, and how long it's been accumulating. Most detailers won't quote it firmly without seeing the vehicle, because the range is genuinely that wide.
Can dog hair be completely removed from a car?
In most cases yes, with extraction and enough passes. Hair that's been worked into carpet over many years occasionally leaves traces, particularly in trunk carpet, which is usually lower quality and looser weave than the cabin.
Do dryer sheets remove dog hair from cars?
They pick up loose surface hair and add fragrance. They do nothing for hair embedded in the weave, and they can leave residue on interior trim.
Why is dog hair worse in winter here?
Wet dogs. A damp coat presses hair flatter and deeper into fabric under body weight, and it dries in place. Interiors also stay damp longer in a Lower Mainland winter, and damp fibre grips hair harder.
Does dog hair affect my car's resale value?
Visibly, yes. Embedded hair and pet odour are among the first things buyers notice, and it's a common negotiating point. A pre-sale interior detail usually returns more than it costs.